
Can you believe it’s actually autumn already? It’s true. And even though you couldn’t tell by the current climate here in California, the equinox has come and gone and we are officially Fall-ing.
Which means it’s apple season! And any second, the grocery store shelves will begin to swell under the weight of Honeycrisps and Jonagolds, tart Granny Smiths and crunchy Cripps Pinks. I’ve adored apple season ever since my Portland days, and although we never get quite the abundance and variety down here in the south, I still look forward to this time of year, and all the apple-y goodness it brings. Pumpkin? Meh. Apples? YEAH!
Anyway, enough with the waxing poetic about apples. The point of this post is much more pungent. Ascerbic, even. It’s vinegar. Vinegar of the apple cider variety. HOMEMADE vinegar of the apple cider variety, if we’re being precise.
Because as any DIYer/healthy living enthusiast/home herbalist/natural remedy loving/beauty product making maven worth their salt knows, apple cider vinegar (ACV) is like liquid hippie gold. We use it in our kitchens, in our cleaning, and in our medicine cabinets. We use that stuff by the gallon, and as I always like to say — “Why buy, when you can DIY?”
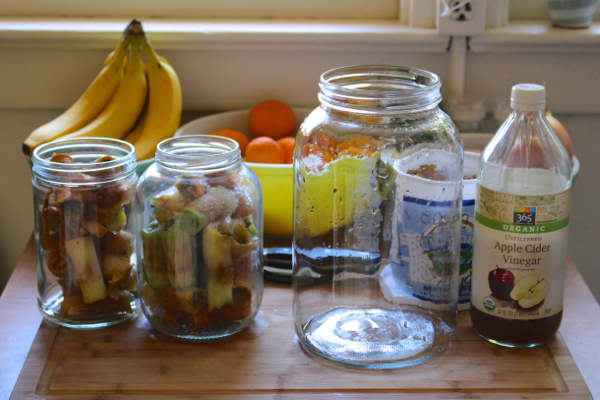
I’d wanted to do this project for years, and actually I did this project a whole year ago. But it’s a long process that takes a few months to complete, so by the time I was done it didn’t make much sense to post it for you guys — because apple season was already over! So instead I stashed the photos away for an entire year, just patiently biding my time as the seasons continued to cycle.
Until now.
And now, it’s apple season, which means it’s time to start prepping for this project. By which I mean, it’s time to start eating apples.
Go on – eat them!
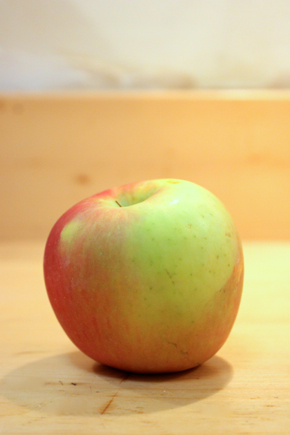
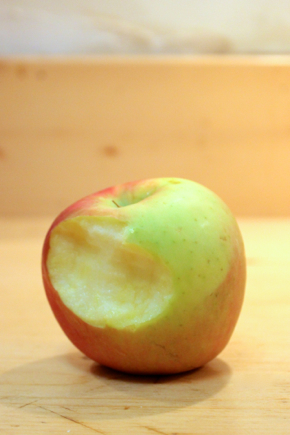
There ya go!
Now, continue to eat them for a couple of months. Every time you eat an apple, keep the core. If you peel your apples (you heathen), then keep the skins. Throw them in a big plastic or glass container, which you’ll keep in your freezer, tightly sealed. Every time you have an apple core or some apple scraps, open that sucker up, toss in your latest additions, then close it back tight.
Do that for a few months. Do it until you have a few quarts of apple cores/apple scraps.
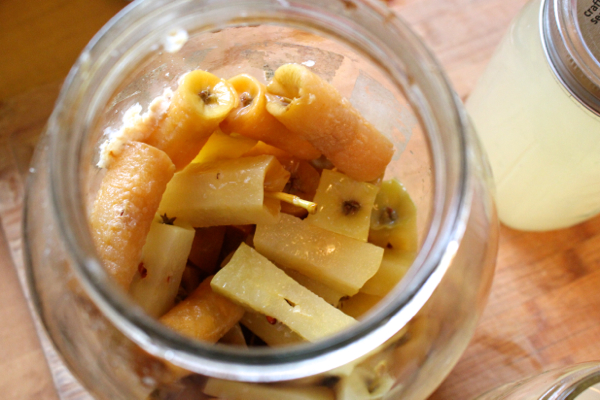
When you’re ready, withdraw all your apple savings from the freezer bank, and allow them to thaw. Then transfer the whole lot to an extra large (think gallon or so) glass jar, jug, or bowl. Glass only!
Cover the scraps with filtered water. I also added a splash of store bought raw, unpasteurized, unfiltered ACV, to act as a sort of culturing agent — but this is not necessary.
Anyway, you’ll want to cover the scraps with water and then keep them all submerged, similarly to when you make sauerkraut. In some cases you can use a smaller glass jar, or a plate, or a crock rock. But I like to use a simple plastic sandwich baggie filled with filtered water, and set on top. It takes the shape of whatever it sits in, so it’s sort of perfect for the job. (You can see a very illustrative picture of this, here.) However you do it, you want to make sure all the apple bits are fully submerged.
Cover the jar with a cheesecloth or coffee filter to keep the fruit flies away, then stash it in a cool place out of direct sunlight for oh, say, a month or so.
That’s basically it.
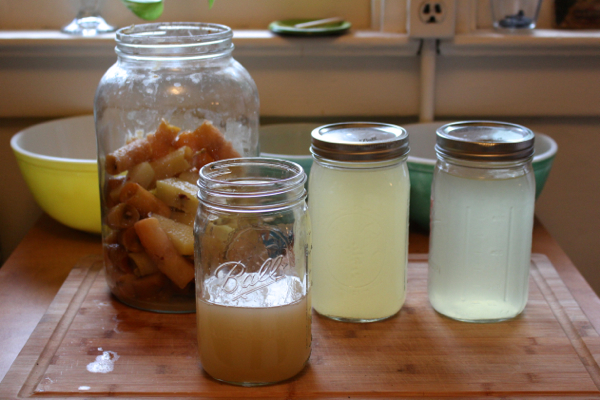
After 3-5 weeks, you’ll have homemade apple cider vinegar. You may get some white fluffies forming at the top, which is fine (I did). Just skim them off and keep going. Real mold, however, means your batch is contaminated and you’ll need to start over.
By the end of the prescribed time period, the water will have become cloudy. Vinegar! Siphon it into mason jars, poured through a wire mesh strainer to keep any apple scraps out. You may notice gelatinous globules floating in your ACV. Congratulations! That’s your mother of vinegar, very similar to a kombucha SCOBY, and it means your ACV is healthy and happy.
DIY Apple Cider Vinegar can be stored at room temperature, but it may continue to ferment away. So I like to keep one jar that I’m using in my pantry, and the rest of the jars in the back of the fridge. I made this gallon last year and I’m currently working through my last jar. So, for me and my household with moderate ACV use, this made enough to last us one year.
Not bad, I’d say, for a few leftover apple scraps and very minimal work.
So what do you think? Are you going to start freezing your cores? Will you be making some DIY home-fermented apple cider vinegar this year??
I sure hope so!
♥


Pingback: Sunday Link Love - Wild Thrift – Thrifty Style & Motherhood
Pingback: October Fall Healthy Favorites: Lifestyle Food HealthDr. Jennifer L. Weinberg, MD, MPH, MBE
Pingback: Salted Caramel Pear Butter | the taste space
Pingback: How To Make Nutritive Herbal Vinegars | Bonzai Aphrodite
Pingback: Pictures Of Things + Le Love List :: 2/52 | Bonzai Aphrodite
Pingback: Pictures Of Things + Le Love List :: 7/52 | Bonzai Aphrodite