I adore vinegar. Adore it! And I use it every single day, in salads and marinades and sauces and beverages and on and on. Which is why I was so thrilled when I began reading about the nutritive power of herbal vinegars. You get vinegar, plus delicious additional flavor, PLUS healthy vitamins and minerals! And being the enthusiastic Kitchen Witch that I am, I knew that I had to learn how I could make them at home. Immediately.
Herbal vinegars are just about the simplest recipe ever, and they’re also completely customizable, which makes them super fun. But the best part about herbal vinegars is their nutritive power. Because vinegar is an excellent solvent (just drop a bone in vinegar and leave it for a few months and see what happens), it draws out all the minerals from whatever plant matter you choose to infuse it with. Herbal vinegars are one of the easiest, and cheapest, ways to add a boost of nutrition — especially calcium — to your daily diet!
Making herbal vinegar takes about 5 minutes of active time, plus a few weeks of waiting. Since you’re making these vinegars for their nourishing value and not just for flavor, make sure you use as much of the herb as you can — really pack it in there. That way you can extract as many minerals as possible. I can’t confirm it, but according to Susan Weed, a tablespoon of herbal vinegar can contain as much calcium as a cup of cow’s milk!
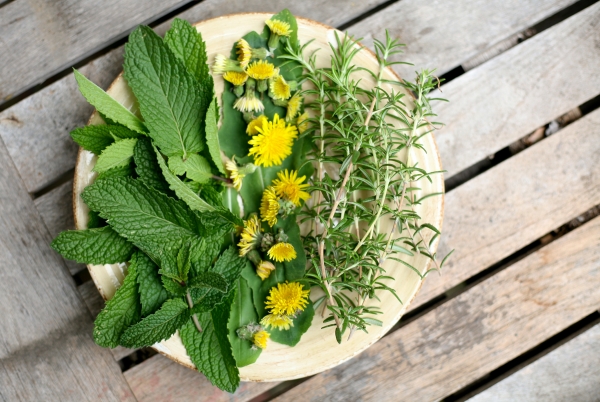
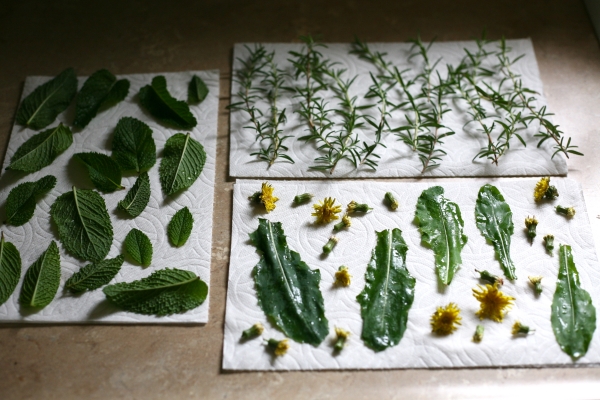
To make your own nutritive herbal vinegar, start with a clean, dry glass jar. Next, gently rinse and then pat dry your herbs. The herbs should be as fresh as possible, ideally just-picked. If you don’t have access to a garden or a Farmer’s Market for herbs, grocery store herbs will work fine, but make your vinegar the day you purchase them. You want them to be as fresh as possible.
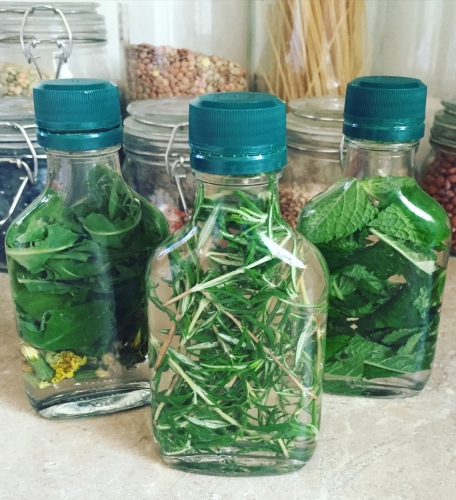
Pack your washed, dried herbs into your clean glass jar or bottle. Use as much as you can! More herbs means more flavor, as well as more herbal medicine (if you believe in the power of plant magick) (I do).
Next, cover the herbs with your vinegar, filling all the way to the top. Make sure all the herbs are fully submerged with nothing sticking out.
You can use a variety of vinegars such as apple cider (I used my own homemade apple cider vinegar), rice wine, white wine, or red wine. It’s best not to use the super distilled white vinegar you get in the big plastic jugs — save that for cleaning.
If you’re using a mason jar or a jar with a metal lid, you may want to lay down some wax paper over the mouth of the jar before you cap it. Vinegar will rust your metal lids!
Then, tuck your tincture away out of direct sunlight, and let it marinate for a few weeks. Maybe between 4-8 weeks should be good. Yes that’s a big window — ’cause hey, this is kitchen witchery and it’s delightfully imprecise!
You may want to check in on it and give it a bit of a shake every week or so.
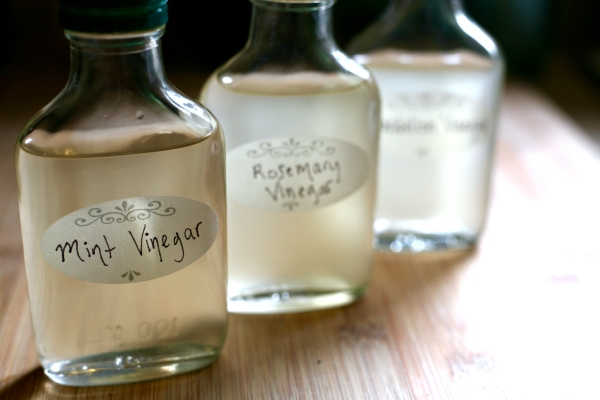
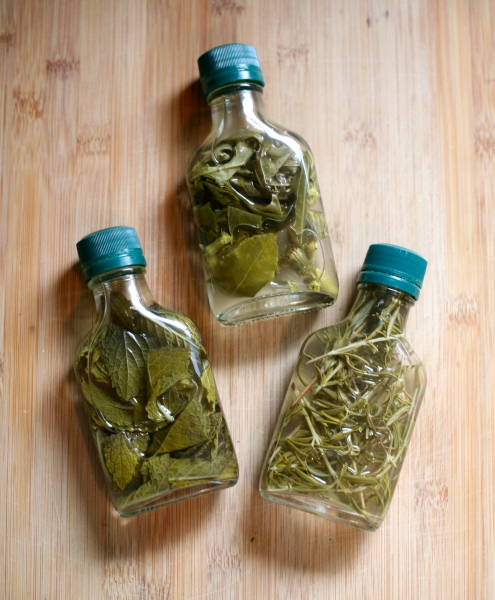
After a few weeks in my cupboard, my vinegars looked like this, much darker and I’ll admit, not quite as pretty. But oh, the power they now hold! Worth an aesthetic swap, to be sure.
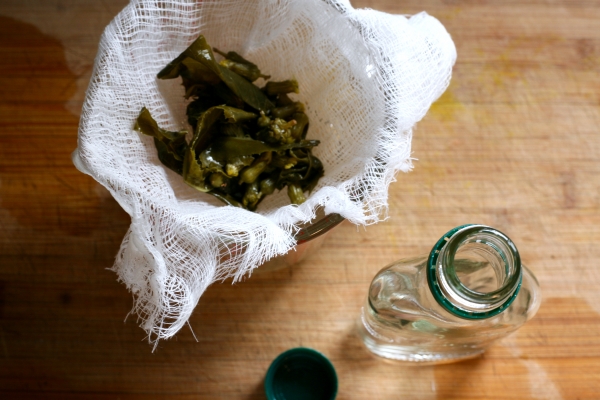
The final step is to strain your vinegars through cheesecloth, to remove the old plant debris. I strain it into a measuring cup, then pour right back into the same, now emptied, bottle.
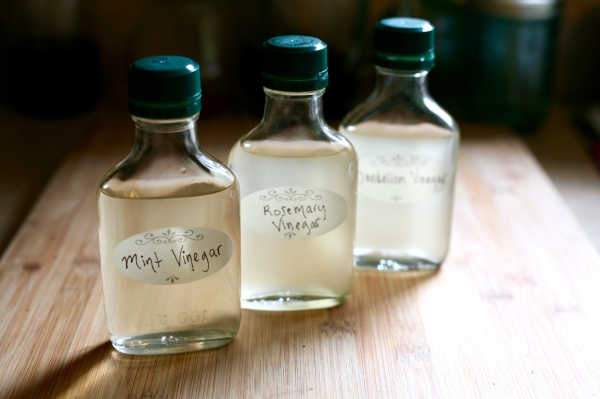
I’ll be enjoying these nourishing treats over the following weeks, in my salads and sprinkled over steamed greens, stirred into soups an blended into sauces. They’ll keep me perfectly pickled while my next batch of herbal vinegars are infusing. This time I’m doing blends and packing them in even tighter!
Cheers to plant magick, DIY, and medicinal food! I hope you all have a wonderful weekend! ♥
-
https://www.youtube.com/user/gneasachamasoin WookieWifey
-
http://bonzaiaphrodite.com/ Sayward Rebhal
-
Sonjah Arr
-
Lindsey
-
http://www.one-sonic-bite.com/ Jennifer
-
http://bonzaiaphrodite.com/ Sayward Rebhal
-
http://bonzaiaphrodite.com/ Sayward Rebhal
-
http://bonzaiaphrodite.com/ Sayward Rebhal
-
Liz O’Connell-Thompson
-
Rebecca Carnes
-
Sarah C.
-
http://bonzaiaphrodite.com/ Sayward Rebhal
-
Sarah C.
