
I must admit, I’m still getting used to this posting-once-a-week schedule. It’s been good to me, in that it’s freed up some much needed time, and it allows me to focus my blogging energy into one really good, really solid post each week. I like that. But still, I can’t help but miss our more frequent interaction. I miss you guys!
Anyway, a few weeks back I posted a short series on some of my very favorite food preservation methods (Part I here and Part II here). So today I want to share some of the actual projects I’ve undertaken this summer and autumn, in order to capture and extend the incredible bounty that these seasons bring.
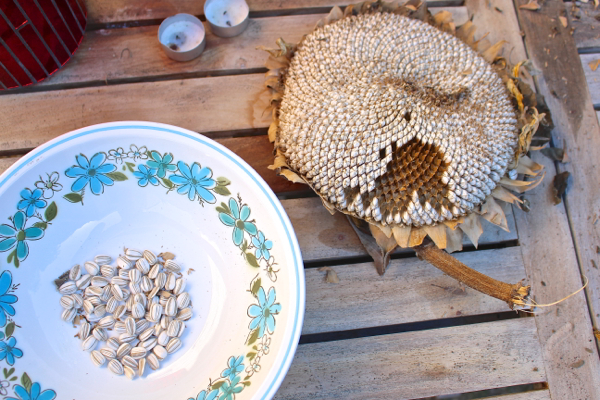
Early last spring, a little boy planted a sunflower seed. And every day the little boy pulled up the weeds, and sprinkled the ground with water. And then, one day, a sunflower came up!
Yes it’s true, Waits grew a sunflower. Two sunflowers, actually, at 8 ft tall apiece. His mama was very proud.
And after they’d dropped their petals and begun to droop, we cut the heads and let them dry completely. One went to preschool for the kids to play with as they pleased, and one stayed home with us, for saving. A long time ago I posted a comprehensive tutorial for properly harvesting sunflower seeds, and that’s basically exactly what we did. It was really fun! A great project for the kiddo, and we had tons of seeds when we were done. Some went into his sensory table, and some went into a jar to plant next year. And the rest . . . went into our tummies!
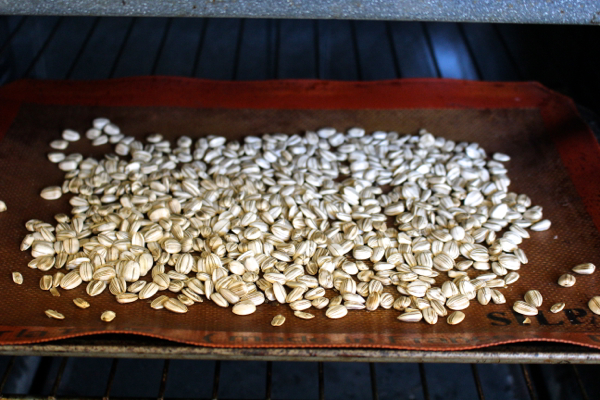
Home-roasted sunflower seeds. Super simple:
Make up a solution of salt water using a ratio of roughly 1:4 salt to water. Stir the solution until the salt is fully dissolved, then soak the sunflower seeds in the saltwater overnight. The next day, spread the seeds on a lined baking sheet and bake at low temperature (200-300º) until they just barely begin to turn golden (a few hours, depending on the temperature).
Allow to cool and then dig in! Or, these will keep in an airtight container for a long time, so save them for a tasty treat come midwinter.

BANANAS!

My godparents have a banana tree, and by the end of summer they were positively drowning in an overabundance of bananas. We couldn’t keep up! Even my little guy who totally hearts bananas, couldn’t eat them fast enough.
I thought about freezing them for smoothies, but that seems so boring, not to mention it takes up a lot of space. So this year I went a different route.
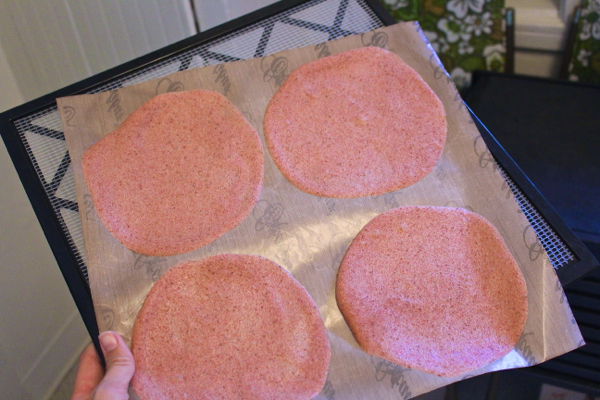
Fruit roll-ups!
Again, super simple, super easy. To make fruit roll-ups, I just put a bunch of bananas in the blender and added a couple pints of strawberries. You can really use whatever combination of fruit you want.

Blend. I didn’t need to add water because the VitaMix is crazy powerful, but since these are going to be dehydrated anyway, it’s okay to add a bit of water if you need to, just to get it to run completely smooth.
Once blended, spoon it onto the nonstick dehydrator mats, like so:
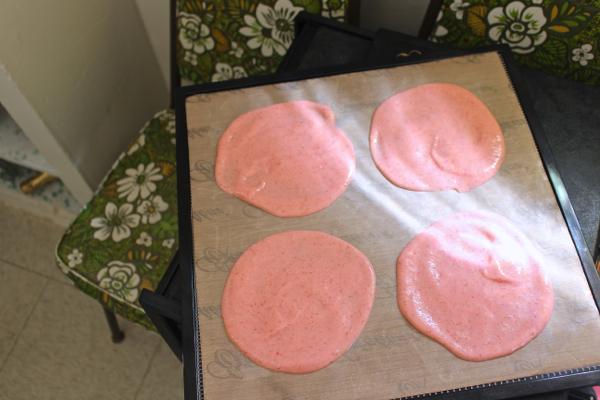
And then dehydrate at 115º, well, until done? I don’ know the exact time, it sort of depends on how big you make them. I did it overnight, probably around 10 hours.
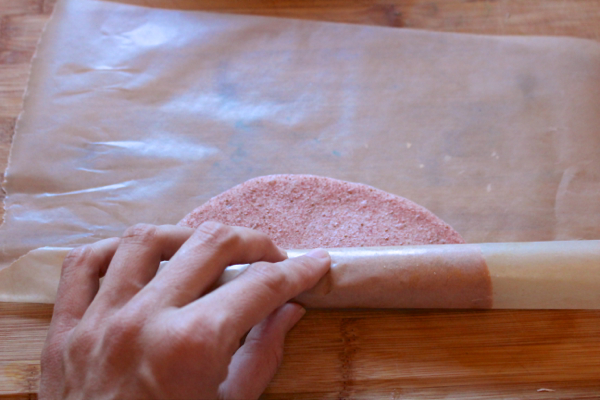
Once they’re done you can roll them in wax paper, tape them shut, and store them in the fridge. I can’t wait to dig these out in the middle of winter when we haven’t had locally grown fruit in ages. It’ll be such a treat!
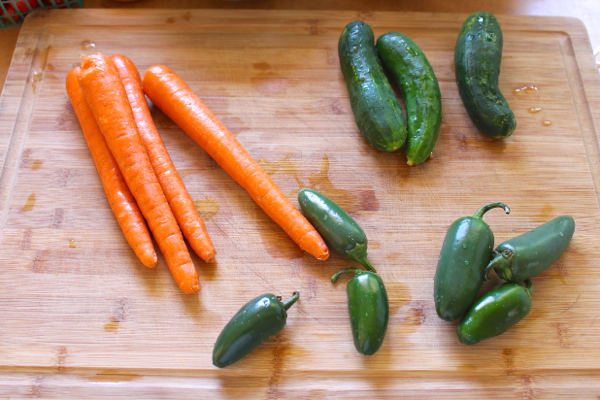
2013 was sort of a jalapeño year for me. I couldn’t tell you why (cosmic metaphor?), but they were everywhere! Waits and I grew a few plants all the way from seed, which was fun. But then they started showing up in my CSA box. Every week. More and more of them. And no way could I eat that many!
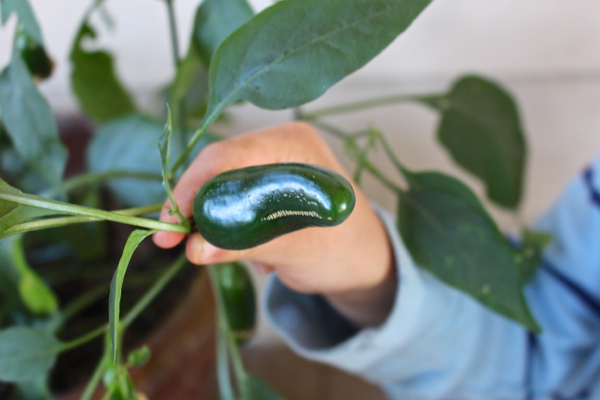
So I did what I always do when faced with a plethora of tasty veggies: I fermented!
I used a super basic, generic fermented vegetable recipe. You can pretty much insert anything and it’ll end up tasting great. The base brine is made from 1 tablespoon sea salt (non-iodized) in 1 cup filtered water, scaled to as much brine as you need (so 2 tablespoon in 2 cups, 3 in 3, etc).
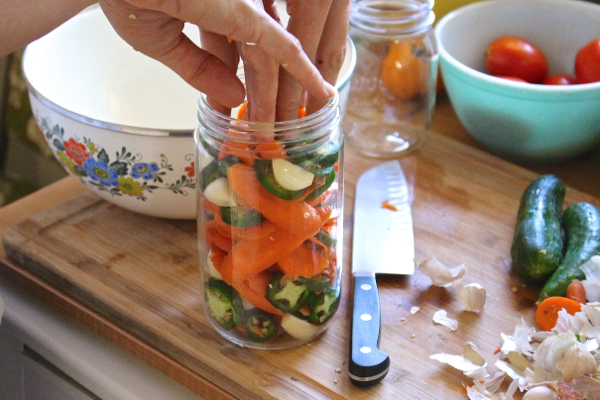
Cut your vegetables however you like. For this batch I cut the jalapeños into rings and added carrots cut on the bias, and whole garlic cloves. Stuff all the veggies down into a jar, then cover with the brine. Use a sandwich bag filled with water, or another jar, or something to weigh down the veggies and keep them submerged in the brine. You can cover with a rag or cheesecloth but I didn’t, since the sandwich baggie basically covered the whole top.
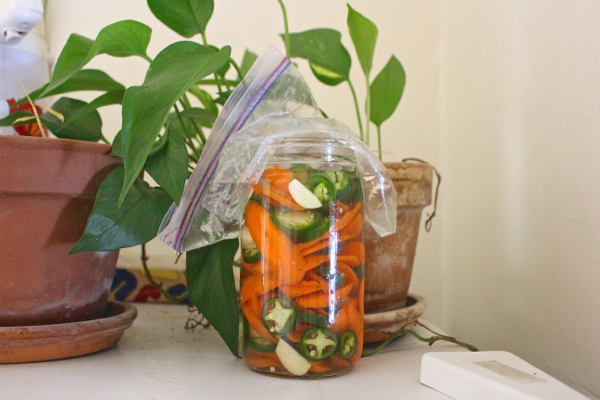
Allow the vegetables to culture in a cool, dry place, out of direct sunlight. After a few days you can taste them. When they’re as sour/fermenty as you like them, move them to the fridge and put a lid on them. They’ll keep in the fridge indefinitely.
These spicy pickles have become an absolute favorite of my not-boyfriend and mine. We’ve been using them on our beans/greens/grains bowls this fall, and they’re SO good. There’s no way they’ll make it to winter, haha.
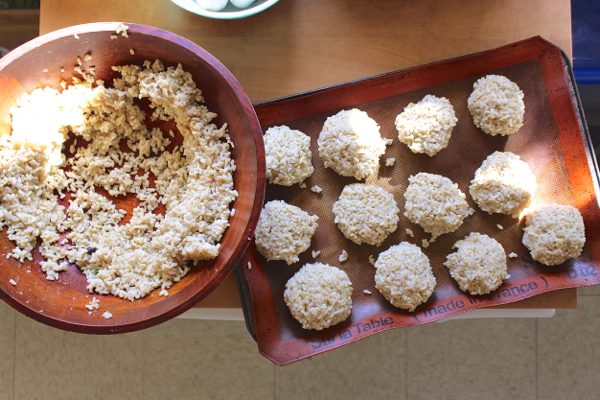
And finally, it’s not exactly seasonal, but my not-boyfriend and I were recently tasked with making [vegan] Mexican rice for no less than 100 people, when my dear friends Ingrid and Terry got married. It was so fun! I’ve never made food for that many people before, and the dish was a huge hit (yay vegan!), buuuuut we sort of overestimated on the rice part. And we ended up with my giant salad serving bowl full of rice, and no way to eat it before it went bad.
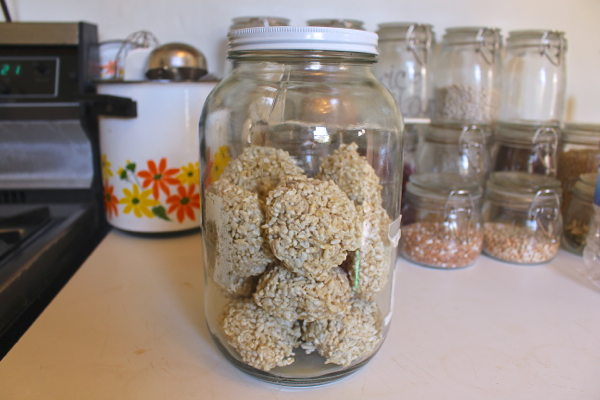
So, into the freezer it went! I formed the rice into balls, spread them out on a baking sheet, and froze them. Once they were solid I transferred them to a big gallon jar. Now I’ll be able to pull out single serving portions whenever I need brown rice. I love my freezer and the way it saves me from wasting food!
I have one last preservation project I’m working on this fall. Way back in the early summer, our preschool moved locations, and as we were packing up for the move, I noticed that the carob tree was heavy with pods. Not wanting to leave them behind, Waits and I hastily harvested the lot of them, even though some were still quite green. I took them home and spread them out int he sun, where they sat for a few weeks drying.
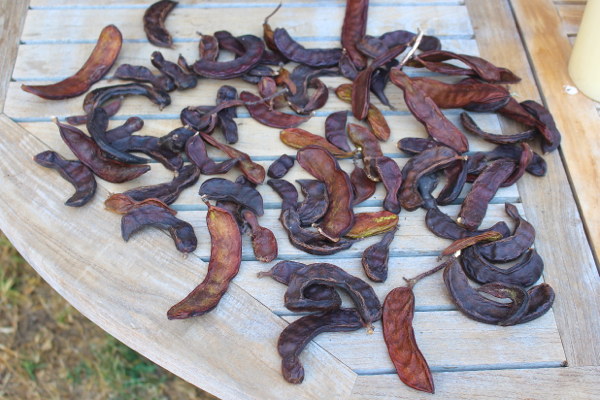
So now I’m sitting on a basket of brown pods. I’ll let you know if I’m ever successful in turning them into carob powder . . .
And what about you? Any awesome preservation projects this year? Please do share, I know I’m not the only one who finds such inspiration in the comments section here.
Love you guys!
♥



Pingback: More Photos From My 2014 Yard & Garden Adventure | Bonzai Aphrodite
Pingback: Recent Eats | Rachel in Veganland