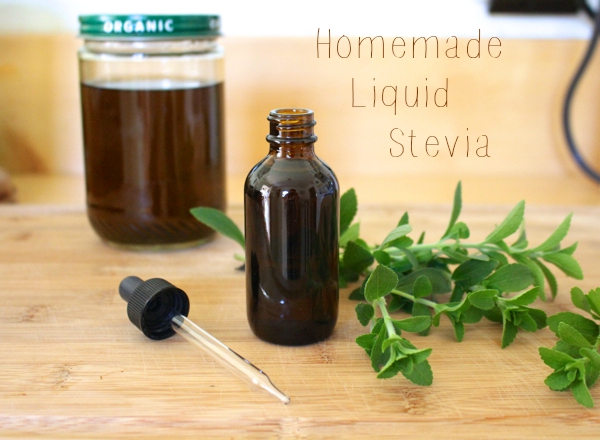
One of my very favorite hobbies is the taking of beloved store-bought items, and finding a way to replicate them at home with healthy, wholesome ingredients. The benefit here is threefold: firstly, I save money — often paying pennies on the dollar for the DIY supplies. Secondly, it’s always more environmentally friendly, with less packaging and plastic, less shipping of products, and less trips to the store for me. And finally, it’s better for my body and the bodies of those I love! I have complete control over the ingredients, which means no icky additives, no unnecessary fillers, and no unsavory extra anything.
But you don’t need me to tell you this, right? You know all this already, which is exactly why you’re here reading a “Green Lifestyle” blog. So good, I’m glad we’re on the same page.
Now let’s talk sweeteners.
Stevia is my store-bought sweetener of choice for day-to-day living, by which I mean: coffee, tea, iced tea, smoothies, etc. It’s not the best for baking but I don’t do much of that anyway, so stevia is my go-to. I prefer it because the extract has no actual sugar, which means it doesn’t affect my glucose levels or moods in the slightest. It’s also a great option for folks who are trying to lose weight, since it’s one of the only non-chemically-derived calorie-free sweeteners.
But whether you’re doing it for the blood sugar stability or the calorie conservation, liquid stevia is a great choice because it’s all-natural — a tincture made from pure plant extract.
The issue, however, is that it can be pretty expensive. Liquid stevia is prone to developing a bitter or funky aftertaste, which is definitely more prominent in the cheaper products. I really love the smooth finish of NuNaturals Stevia, but that stuff is a pretty penny at almost $12 per bottle.
So! Time to make my own.
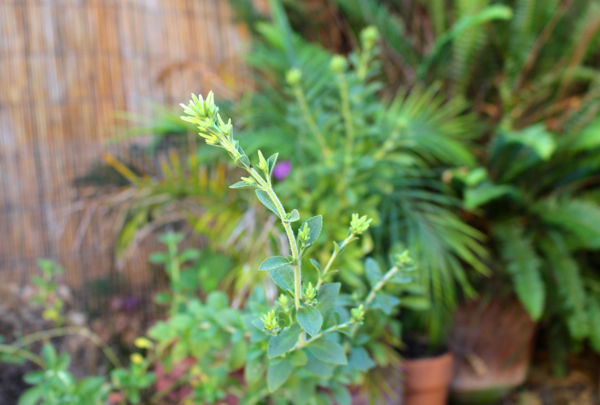
I started off by growing my own stevia plant in my herb garden. I’ve actually been nurturing this plant for over a year – it survived outside last winter and it’s managed the sweltering drought heat of this summer, so I’d say it’s an especially hardy herb. If you’re looking for something fun to add to your garden, fresh stevia is a great choice!
I like to use the leaves blended into smoothies for extra sweetness (a little goes a loooong way!) and boiled along with other fresh herbs like mint and nettle, in my mineral-rich meadow tea infusions that I make for the kids at preschool. There are lots of ways to incorporate fresh stevia into your cooking, so it’s a super fun herb to keep around.
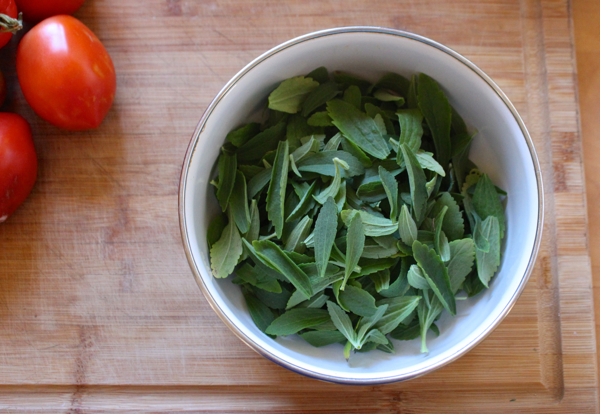
Anyway, for the purposes of this recipe, we’re going to use dried stevia, which I make by picking and washing a batch of the leaves from my garden.
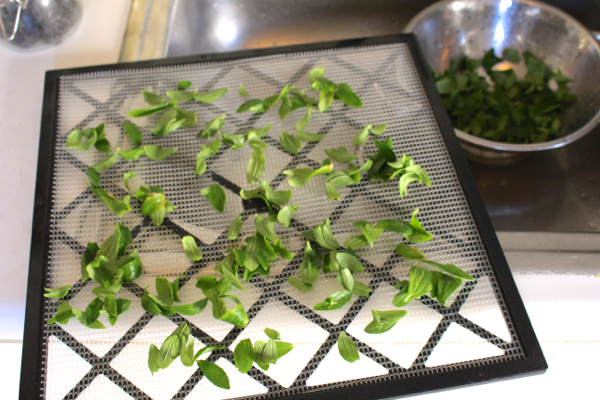
A little trip to the dehydrator . . .
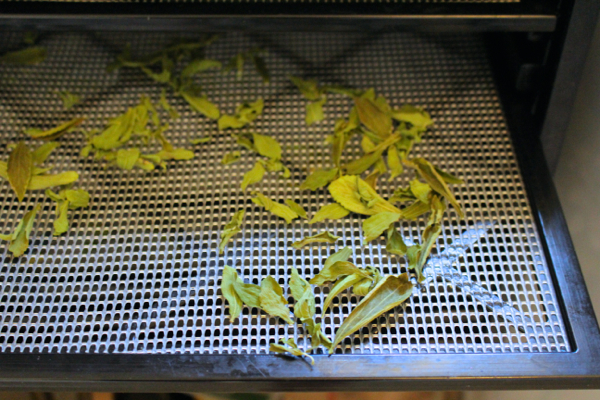
. . . And we’re ready to go.
Alternatively, you can pick and wash the herbs and then just hang them up to dry. I’ve got a few bundles hanging in my kitchen window right now, and although it takes a little more time, it works just as well.
Alternatively alternatively, you can just buy whole dried stevia leaves online. (Or buy some heirloom stevia seeds to get started growing your own!)
The stevia leaf can be stored in a sealed container, pretty indefinitely, until you’re ready to make your extract.
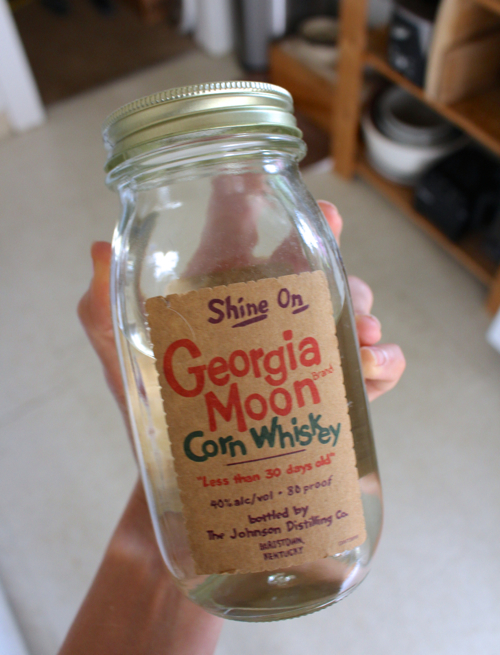
To make the extract, you’ll need:
2/3 cup dried stevia leaf
1 cup neutral grain spirit, vodka, or Everclear (I used moon shine!)
a jar with a lid
cheesecloth or fine mesh strainer
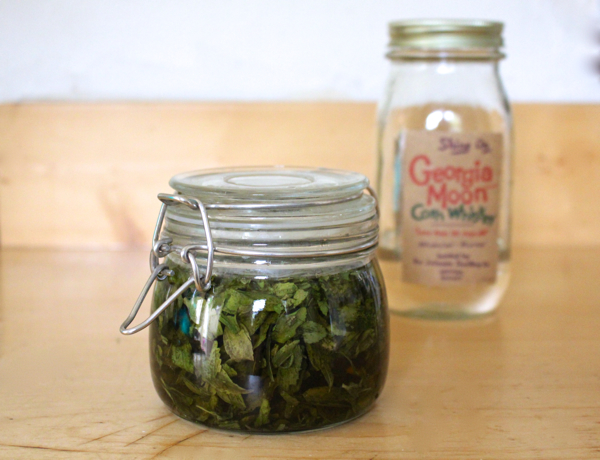
Place the dried stevia leaf and alcohol in the jar and cover it with the lid. Give it a little shake and then set it aside. Leave it for 2-3 days, but no more than 3 days max, or it will become too bitter. I like 2 days of steeping, and I try to give it a shake every few hours.
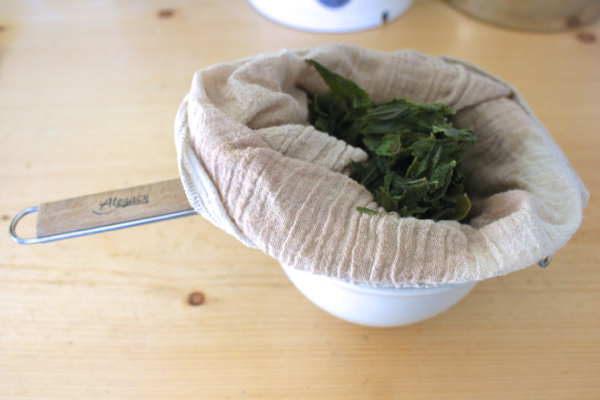
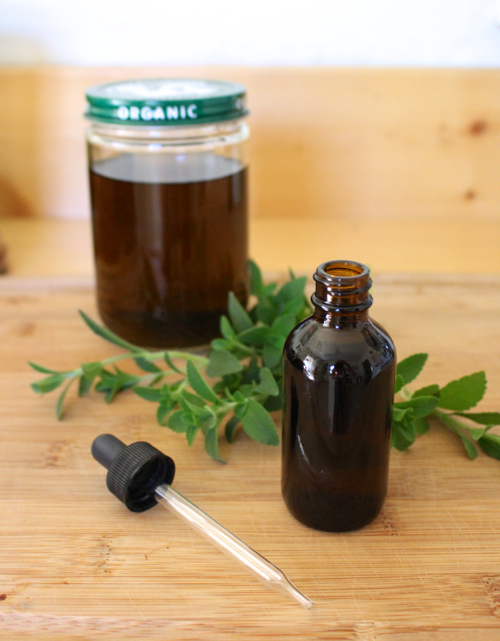
Strain the stevia leaf from the liquid using a cheesecloth or very fine mesh strainer. The remaining liquid will be dark. All-natural, baby!
You can store your stevia extract in a cool dry place for up to 6 months. I like to keep the majority of mine in a big glass jar, and keep a little bit on-hand in a vial with a dropper, for easy use in my coffee and tea.
It’s really that easy! Almost effortless, I’d say, and so totally worth it when you factor in financial savings and eco-friendliness.
So now I want to hear from you. It’s been a long time since I’ve posted this kind of DIY eco-friendly life hack, and I’m wanting to do more of them! So I have two questions:
1) What’s your favorite eco-hack/DIY homemade product that you’re already using? And,
2) What’s the biggest eco-hack/DIY homemade product that you’d like to see a tutorial for?
Let me know in the comments below!
♥



Pingback: Sunday Link Love - Wild Thrift – Thrifty Style & Motherhood
Pingback: A Bit of Reading 9/27/15 | Rachel in Veganland
Pingback: How To Make Ultra-Nourishing Iced “Meadow Tea” (Our Favorite Refreshing & Nutrient-Rich Summer Drink) | Bonzai Aphrodite