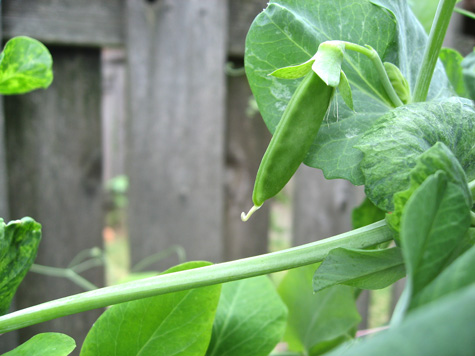
“Early to bed, early to rise” is how the saying goes. And so it applies on the farm as well: “early to bloom, early to die“.
I planted my snow peas first thing this season, way back at the beginning of February, and they bore their yield before anything else, in June. And as it goes, they’ve already died back, thus freeing up a precious plot for fall crops.
But I’ve saved my pea seeds this year! Saving seed is super easy, economical, and of course, ecological. If your annuals were able to thrive in your soil, you know you’ve got a botanical match. Go ahead and save the seeds of all your successful plants. *But*, if your veggies struggled or your flowers floundered, they may not mesh with the mineral composition of your yard. You might consider skipping out on the seeds of these low-yield or sickly varieties.
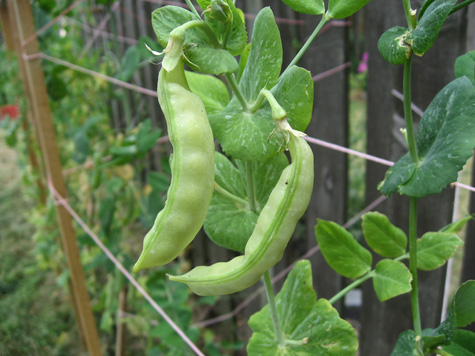
This process is pretty standard for all legumes, so feel free to use this method for any pea, bean, or lentil you may have grown. You’ll want to start paying attention when the plant begins to lose it’s color and the pods start to shrink up, like this:
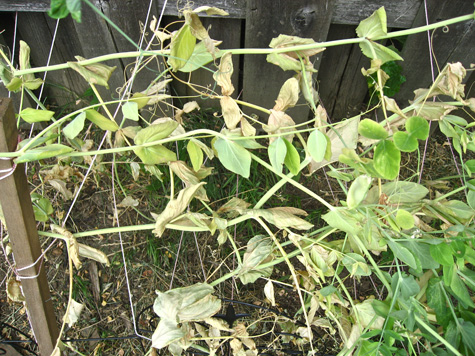
Some people suggest clipping the vines at the base and hanging them out to dry, but I was much more successful just allowing them to die back naturally. The stems will brown before the pods, so just keep an eye on them over the weeks to see that they aren’t molding. Some ‘healthily’ dying pea plants:
It will take a few weeks, but eventually the entire plant, including it’s pods, will be nicely dehydrated. Here you can see the pods I hung to dry inside (left) and the pods I allowed to dry in the ground (right). The hung-dry plant remained strangely green even when it was crunchy crisped, and the pod shriveled up extremely tight. The seeds that came out were small and wrinkled – not nice at all. As I said, I strongly suggest the in-ground approach, as the beauty on the right demonstrates:
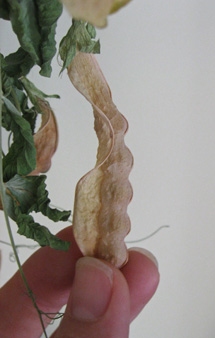
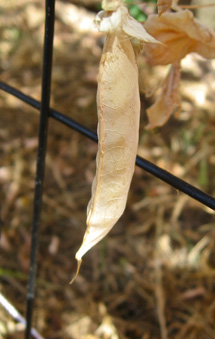
To collect seeds, select fully dried cases that ‘rattle’ a bit when you shake them. Gently pry them open at the ‘seam’ – if they are ready this shouldn’t be too difficult at all. Many will have already begun to split.
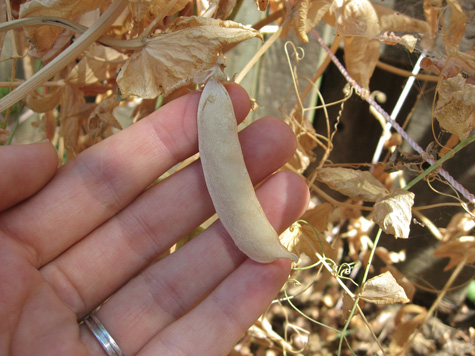
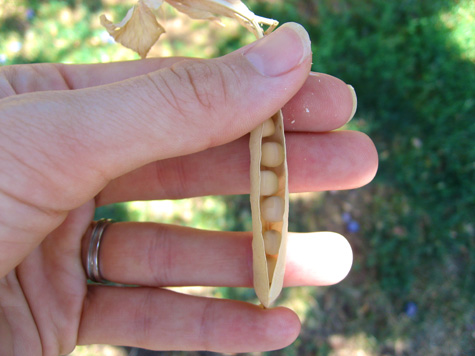
And it’s easy as that! Collect as many seeds as you want (there should be more than enough) and store them in a cool dry place, like a spice jar in a closet. Remember to label the jar!
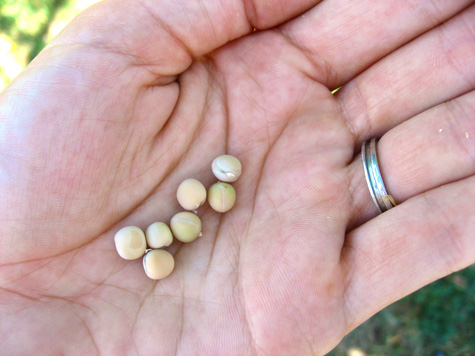
Good luck, and happy gardening!

-
Beth
-
nedmorlef
-
nedmorlef


