Whether you’ve started out from seed or just purchased your spring starts, we’re finally (!) entering the arena of actual planting. Yay! Final frost will vary by region, but no matter where you are, all that planning and digging and weeding and waiting will soon begin to pay off. By now you should have prepared your beds, worked your fertile topsoil, and removed any weeds that may have cropped up. Make sure you get these out, because they’ll speedily go to seed.
So you’ve got your precious plantlings and you’ve spent a week or so getting the little buggers hardened off. Now it’s time to cut the cord. For transplanting, you’re going to want to do your work on a cool afternoon or in the evening. During the day, sunshine triggers the opening of stomata, the small pores that line the leaves. Stomata are essential for gas exchange, but they also allow for transpiration, or evaporative water loss. When sunlight recedes the stomata close and the plant begins metabolizing its daily nutrient intake. So, transplanting your little one in the evening, when the stomata are closed, will help it retain water. Water is a valuable commodity and is required for this traumatic transfer.

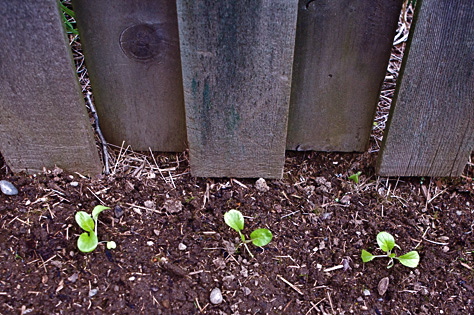
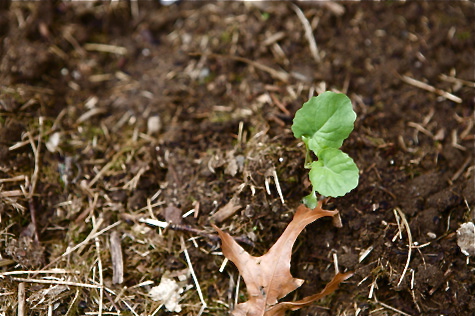
Beautiful brassica - my little baby broccoli!
Begin by digging a hole, both wide enough and deep enough so that the roots will easily slip in without clumping together. I find that burying my trowel to the hilt to make a sort of slit, narrow but very deep, seems to work best.
When handling the little sap, hold it by the two base leaves instead of by the body. These cotyledons are not true leaves and will shed as the plant matures. It’s better to accidently damage these throw-aways, instead of squishing something vital like the stem. Remember, these guys are quite delicate!

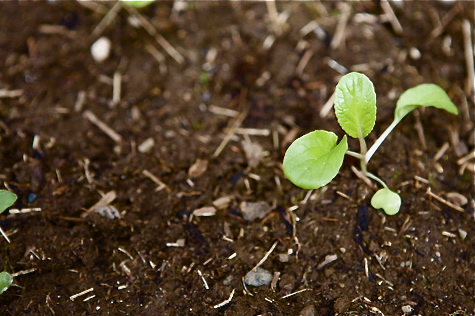
More beloved brassica - my petite pak choi
Before you sink the seedling, tease the roots gently with your fingertips to break them up a bit. This will help promote healthy outward growth, instead of continuing the tangle that results from a container childhood. Also, try to maintain the same soil depth on the stem. If this level of precision proves too difficult, remember that ‘too deep’ is better than ‘too shallow’. Finally, tamp down the dirt around the base, ensuring that no air pockets are trapped in the roots. You don’t want to crush the poor thing, but you can pat it down pretty snug.
The final step is to offer immediate water to your new garden resident. It’ll already be in shock, so go easy! Using lukewarm water will be much milder on the system. As well, try to avoid splashing the leaves, if you can. Water on the leaves triggers the stomata to open, and we’re trying to avoid that for now! Finally, offer some shade if the sun is still out, to further minimize any chance of water loss.
And then you’re off, your babies are in the ground! Make sure to water them every day, and try to fertilize at least once a week while they’re young. Sing to them, play them your favorite songs, and tell them bedtime stories. Dote on them, coo at them, and kiss them softly in the mornings. Be good to those little treasures, and they’ll supply a glorious bounty in the coming months!


